1
2
3
We just need your E-Mail and shipping address.
Feel free to add more samples to your sample cart afterwards.
We just need your E-Mail and shipping address.
Feel free to add more samples to your sample cart afterwards.
Gerflor's GTI MAX Connect industrial flooring is versatile for both commercial and residential applications. They are a quick and easy flooring solution for areas with heavy loads.
Gerflor, a leading flooring manufacturer, has a 70-year history of producing resilient floor coverings for residential and commercial applications. The French company was founded in Lyon in 1937 and always focused on innovation, healthy materials and aesthetic floor design when developing new flooring solutions. Gerflor is right about its success - numerous awards attest to the first-class quality, the design, and the environmentally friendly aspect of Gerflor products. The Red Dot Award competition honors Gerflor's Creation 70 with the Red Dot Award for Product Design 2016.
| item no. | 26600261 |
|---|---|
| Manufacturer | Gerflor |
| Length in mm | 635 |
| Width in mm | 635 |
| Thickness in mm | 6 |
| Installation type | click |
| Collection | GTI MAX Connect |
| Colour | brown |
| Piece per package | 1 |
| Range of application | Residential |
| Shipping group | S |
| Weight | 3,75 kg/Packing |
| Package Content | 0.4 m² |
|
Show all data ▼
|
|
| Downloads | |
|
|
|
|
|
|
|
|
|
We will help you with your questions!
A specialist adviser will be happy
to advise you personally.
 button
The first step is to check the substrate. All unevenness must be sanded down and filled with a floor levelling compound. Then clean the area to be laid with a hoover. The industrial floor should be stored horizontally in the room where it is to be installed for at least 24 hours before the installation in the packages. This will allow the material to acclimatise to the room temperature and not "work" so hard after the installation.
Tip: In order to achieve the most uniform picture of the floor, it is advisable to mix planks from 2-3 different packages.
 button
Before laying the floor, it is imperative to follow the official laying instructions, which are included in every package, otherwise all claims under warranty and guarantee will be invalidated!
2.1 Loose laying
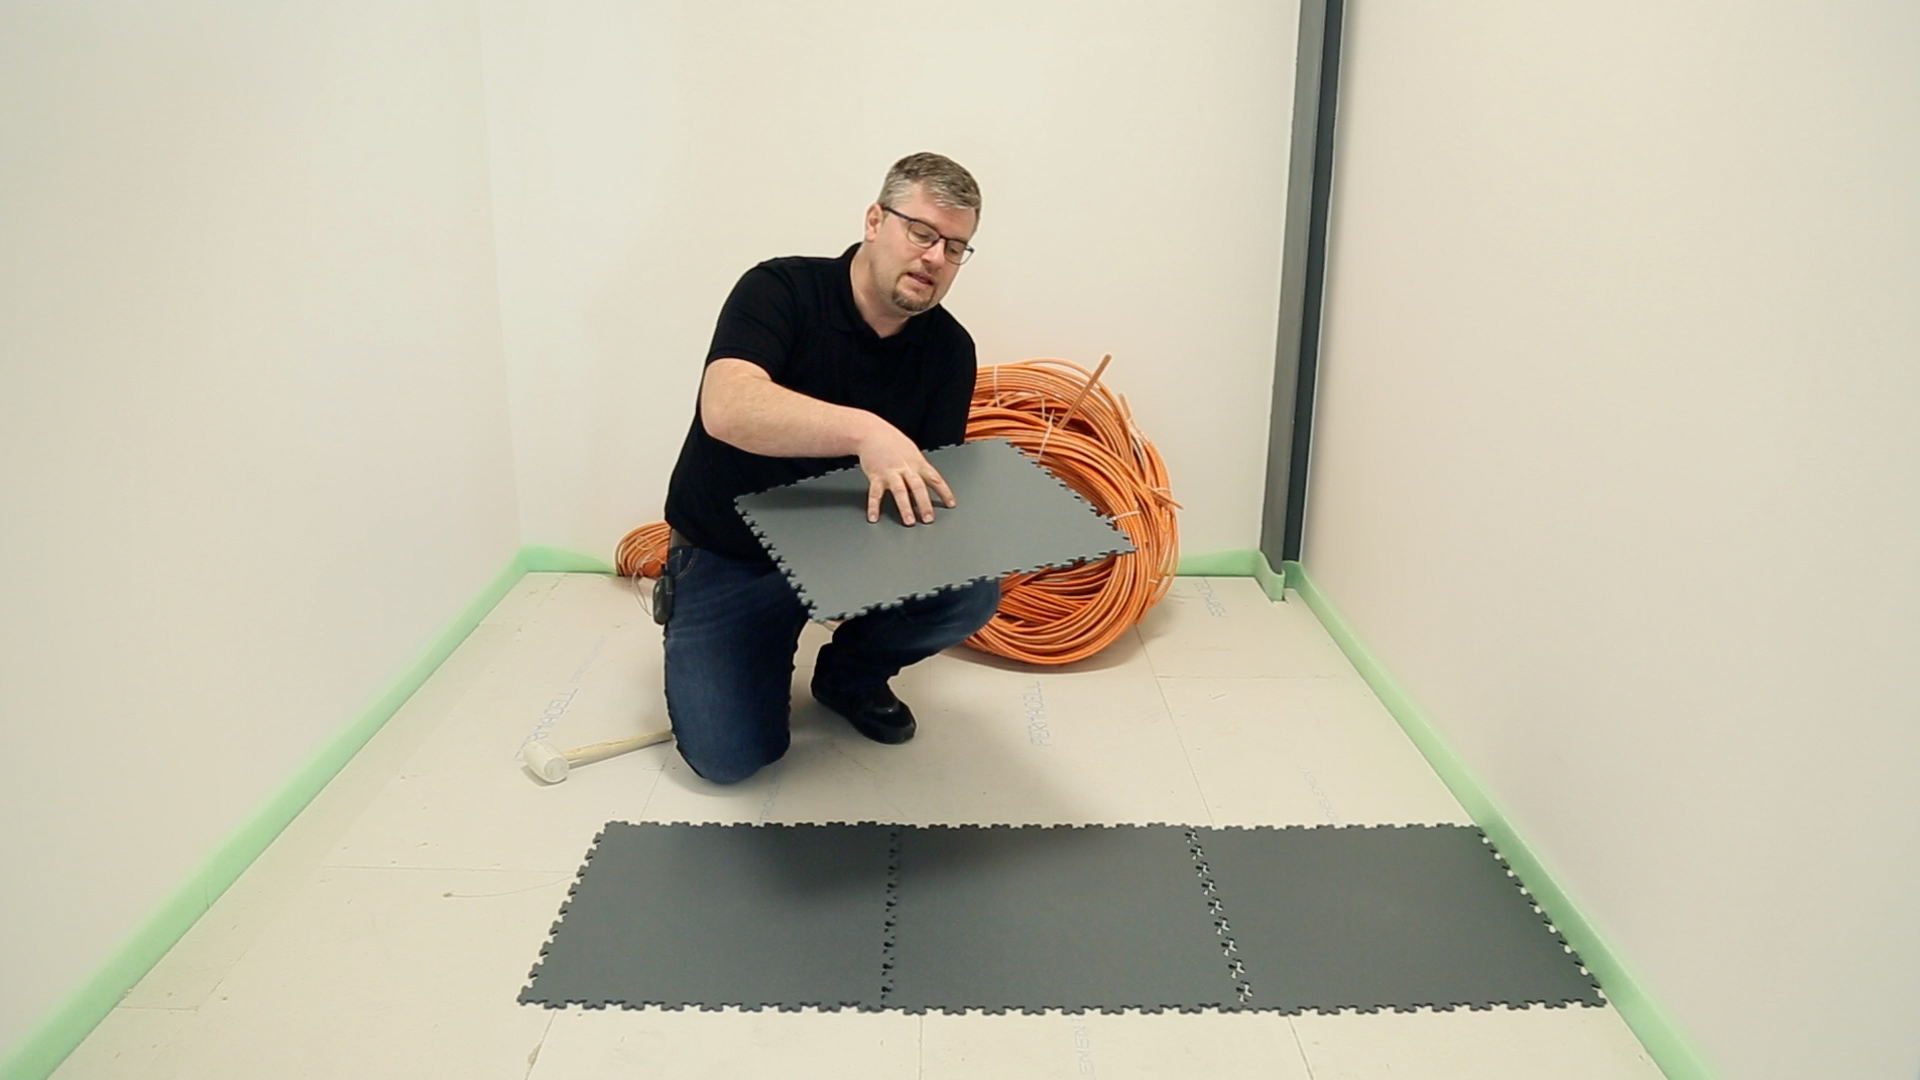
To minimise the risk of joint misalignment, you can start the installation in the middle of the room. To do this, make markings on the subfloor. Lay the first tiles well aligned on the subfloor. When doing this, take into account the markings for the laying direction on the back of the tiles. First, use a rubber mallet to join the interlocking tiles. Tap lightly on the connecting pieces of the floorboards.
ATTENTION: A distance of approx. 1 cm must always be maintained between the flooring and the wall as well as to all fixed components.
2.2 Gluing
When gluing, apply the adhesive to the subfloor surface by surface. Observe the respective flash-off times of the adhesive. The tiles can then be laid in the wet bed in the direction of the arrow and pressed down.
 button
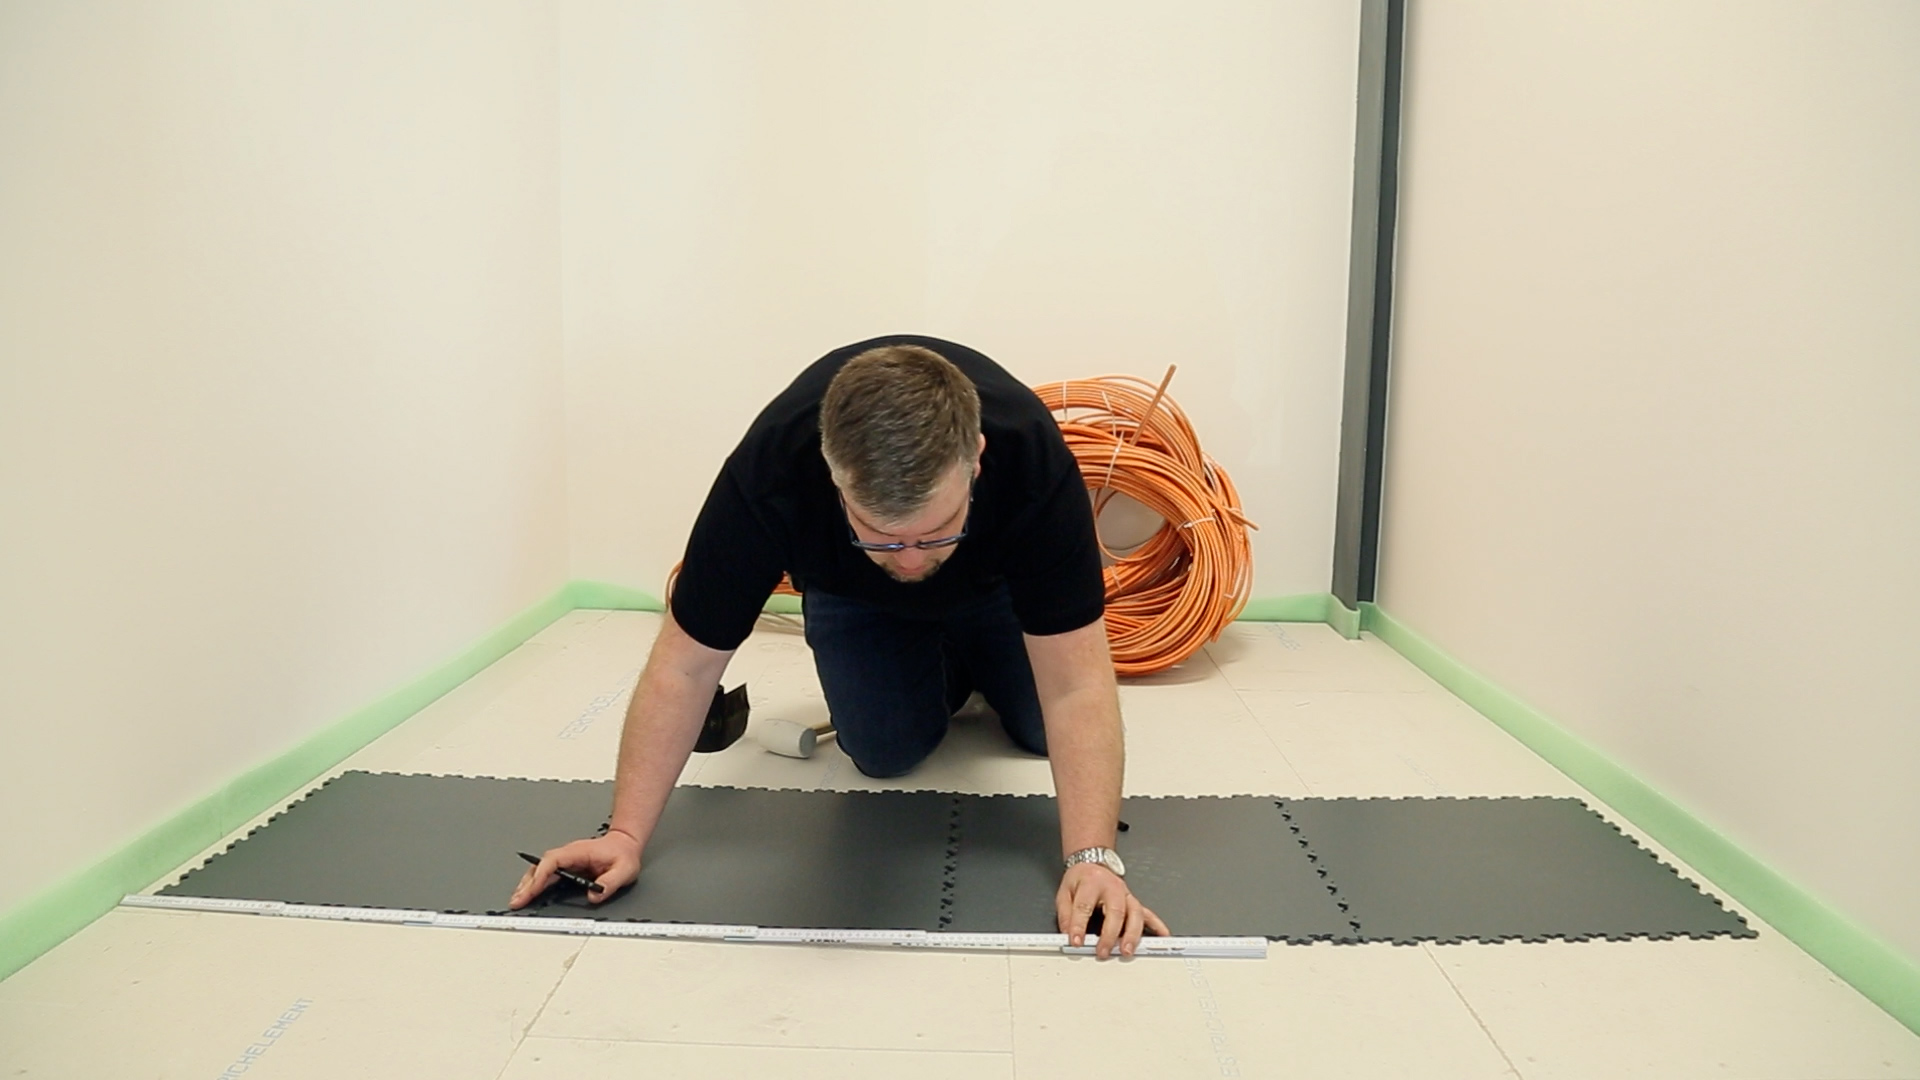
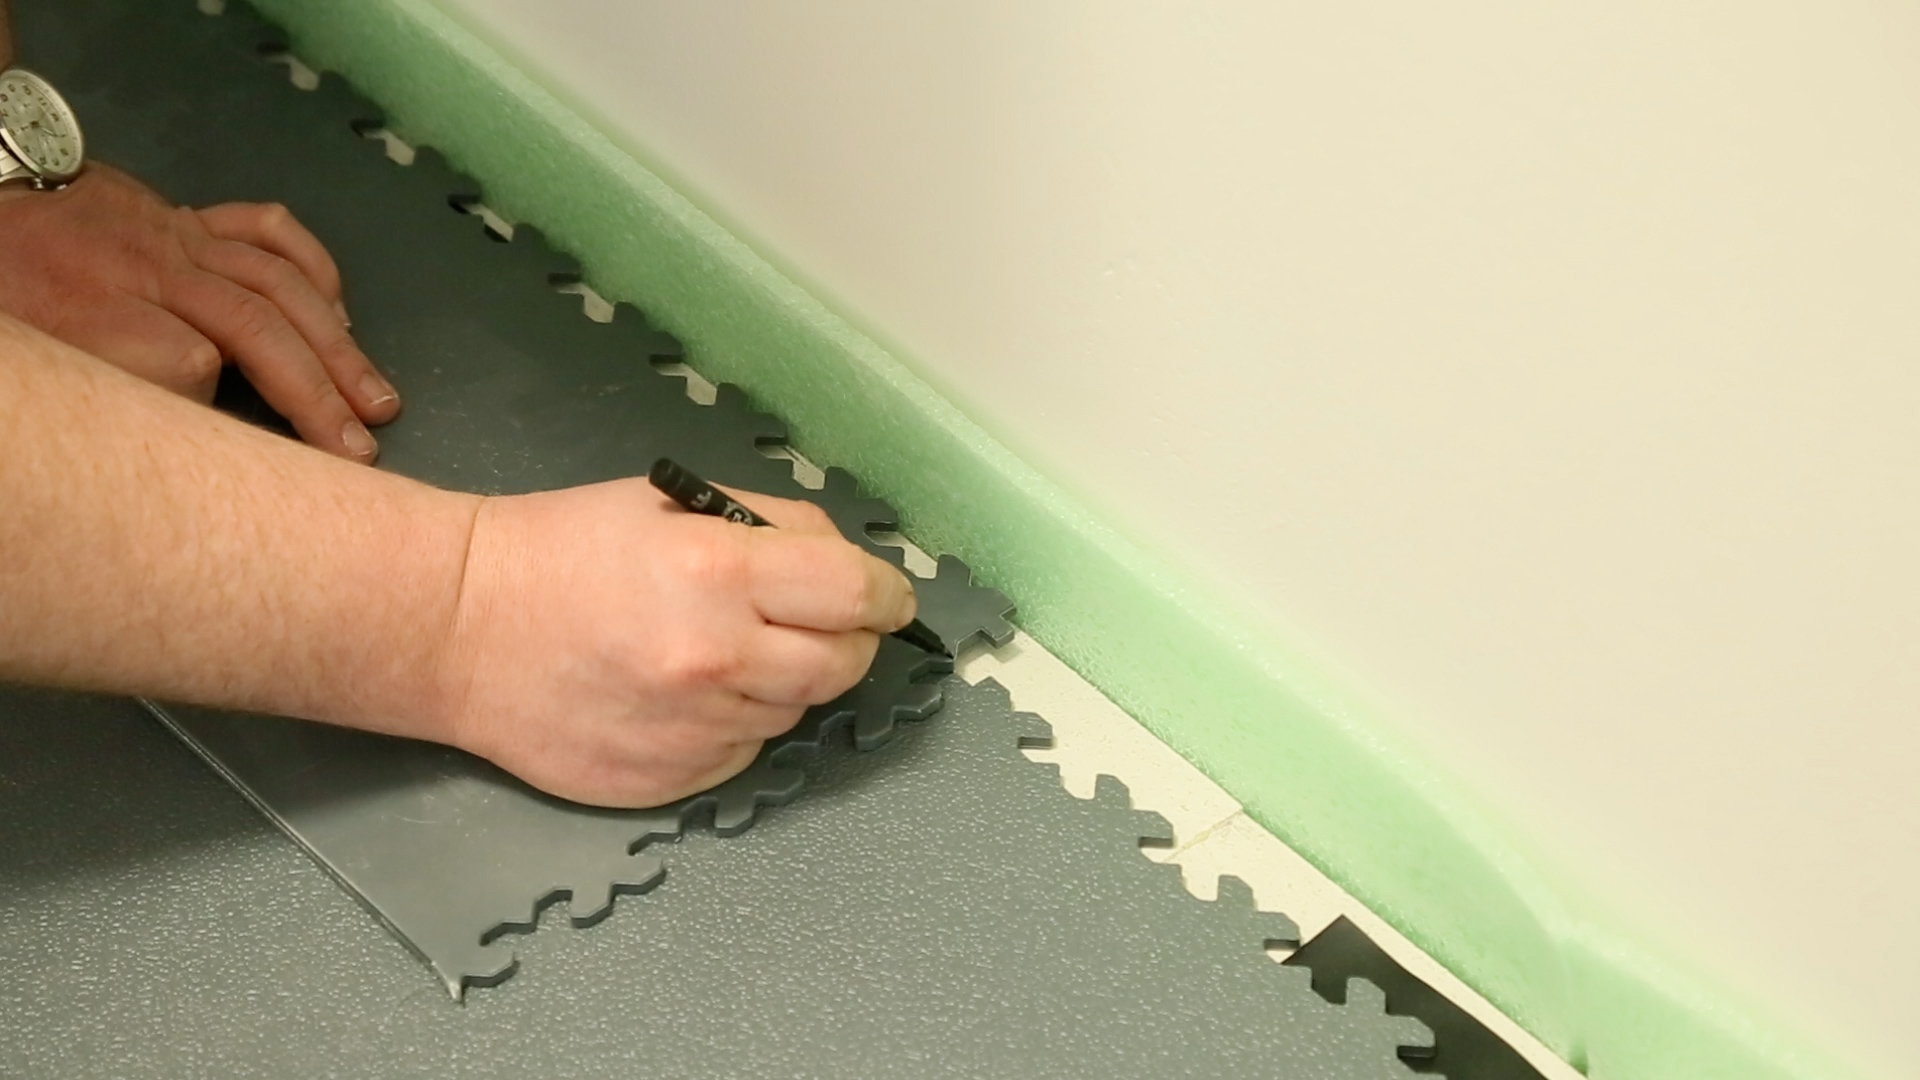
To lay the last row, place the tile on the floor with the serrations facing the wall and mark the point of contact between the new tile and the tile already in place. Again, keep the expansion gap to the wall. Now cut the tile with a jigsaw. The edge sections can then be laid and fixed in place with the rubber mallet.
Material:
Tools:
optional:
Working time:
Level of difficulty:
.
Are you looking for a lower price? Just ask us for an individual offer!